DIY Mom Cut How to Safely Cut Your Hair at Home
DIY Mom Cut: How to Safely Cut Your Hair at Home
Introduction
Cutting your own hair can be a daunting task, but it can also be a great way to save money and get a fresh new look. With a few simple steps, you can safely cut your hair at home and achieve salon-quality results.
In this article, we will walk you through the process of cutting your own hair, from choosing the right tools and products to styling your finished cut. We will also provide tips for avoiding common mistakes and ensuring that your hair looks its best.
Choosing the Right Tools and Products
The first step to cutting your own hair is choosing the right tools and products. You will need:

- A pair of sharp, high-quality scissors
- A comb
- A hairbrush
- A cape or towel to protect your clothes
- A mirror
- Hair clips or pins
- A styling product, such as hairspray or gel
It is important to use sharp scissors when cutting your hair, as dull scissors can damage your hair and make it difficult to achieve a smooth, even cut. You should also choose a pair of scissors that are designed specifically for cutting hair.
A comb and a hairbrush will help you to section your hair and style your finished cut. A cape or towel will protect your clothes from getting wet or stained. A mirror will allow you to see the back of your head and make sure that you are evenly cutting your hair.

Hair clips or pins will help you to hold your hair in place while you are cutting it. A styling product will help you to style your finished cut and keep it looking its best.
Preparing Your Hair
Before you start cutting your hair, you will need to prepare it by washing it and conditioning it. This will help to remove any dirt or product build-up and make your hair easier to work with.

Once your hair is clean and conditioned, you can start to section it. You will need to section your hair into four parts: the front, the sides, and the back. You can use hair clips or pins to hold each section in place.
Cutting Your Hair
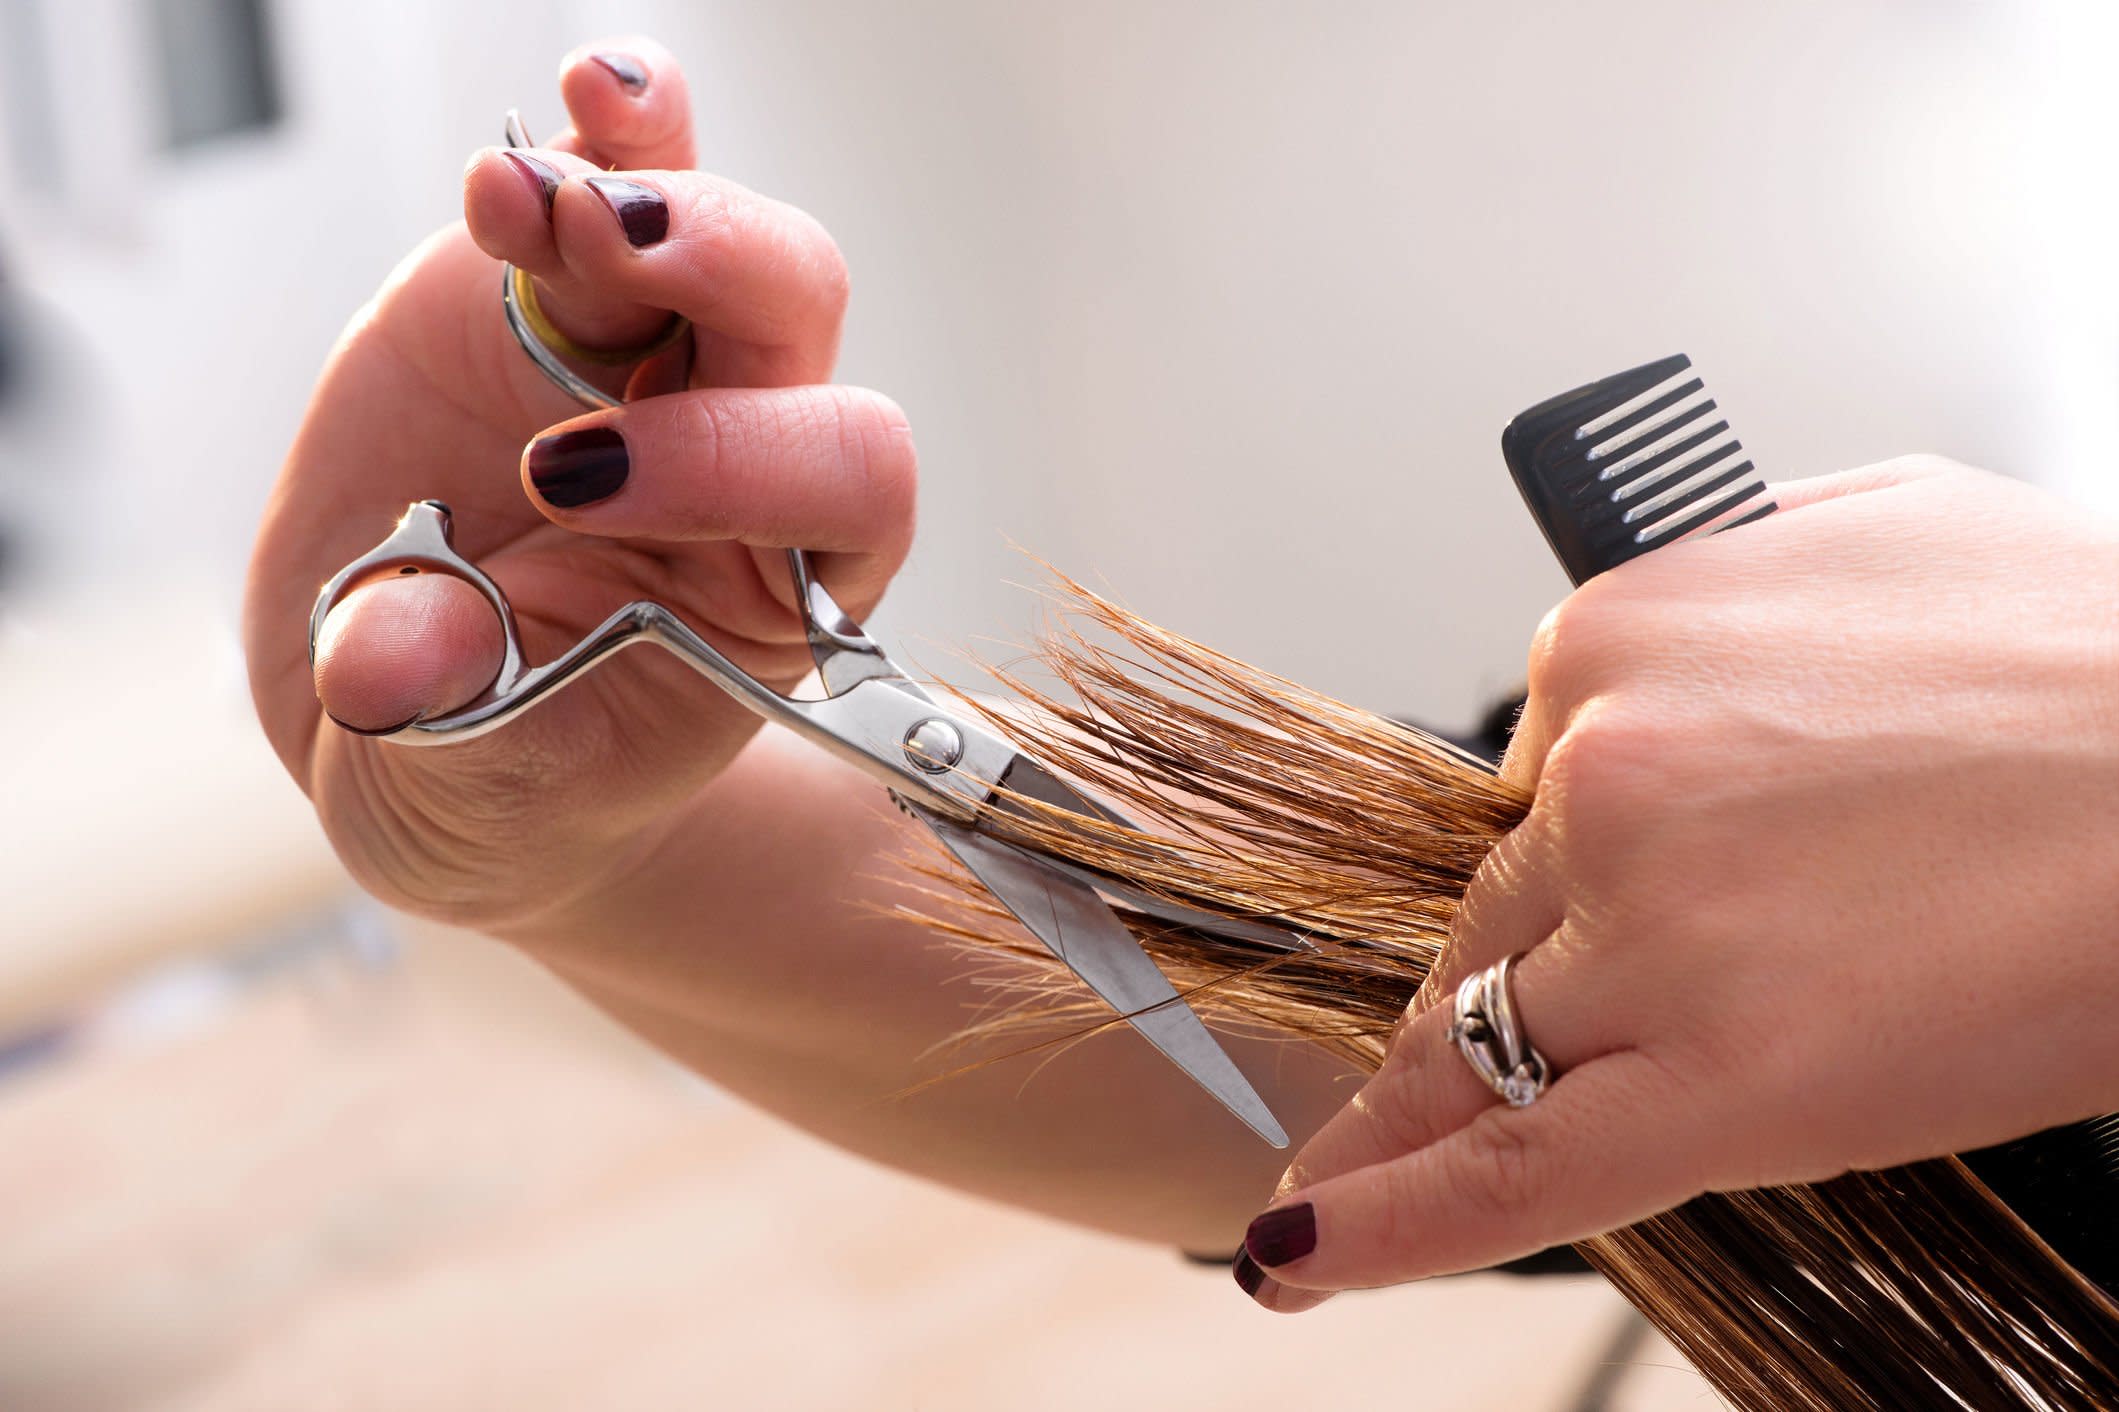
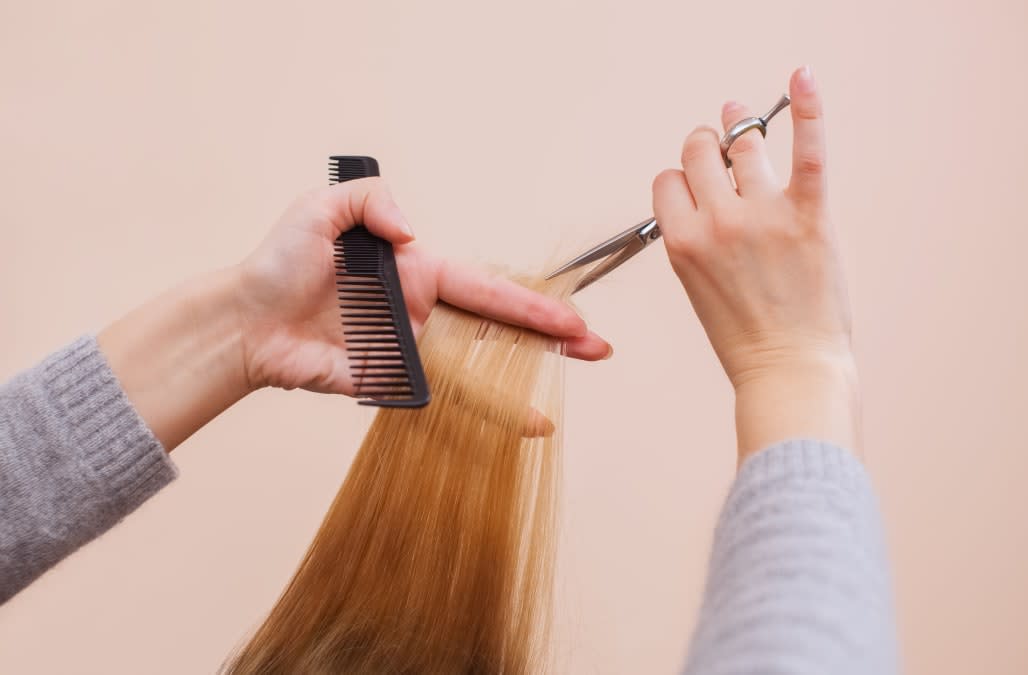
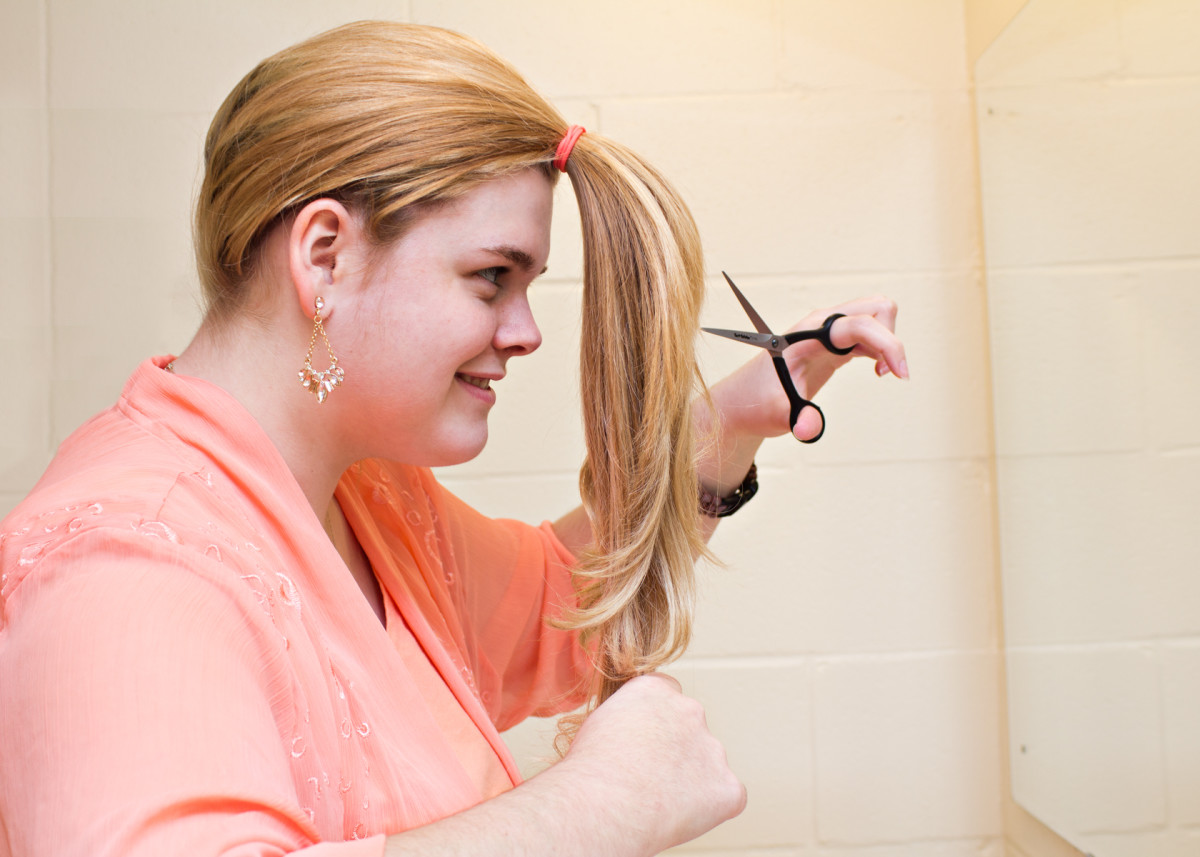
Now that your hair is prepared, you can start cutting it. The first step is to cut the length of your hair. You can do this by using a comb to divide your hair into two sections, one on top and one on bottom. Then, hold the top section of your hair up and cut it straight across.


Once you have cut the length of your hair, you can start to style it. You can use a variety of different cutting techniques to create a variety of different looks. Some popular cutting techniques include:
- Layering: This technique involves cutting different layers of hair to create a more textured look.
- Point cutting: This technique involves using small, sharp scissors to create a more defined look.
- Thinning: This technique involves using thinning shears to remove weight from your hair without changing the length.

You can experiment with different cutting techniques until you find one that you like. Just be sure to take your time and work slowly, as you can always cut more hair off later if you need to.
Styling Your Finished Cut
Once you have finished cutting your hair, you can style it to your desired look. You can use a variety of different styling products, such as hairspray, gel, or mousse, to help your hair hold its shape. You can also use a hair dryer and a round brush to create volume and curl.

Here are a few tips for styling your finished cut:


- Use a light touch when applying styling products, as too much product can weigh your hair down.
- Use a heat protectant spray before using a hair dryer or curling iron to protect your hair from damage.
- Style your hair while it is still damp, as this will help it to hold its shape better.
- Don't be afraid to experiment with different styling products and techniques until you find one that you like.
Avoiding Common Mistakes
When cutting your own hair, it is important to avoid common mistakes. Some of the most common mistakes include:

- Using dull scissors: Dull scissors can damage your hair and make it difficult to achieve a smooth, even cut.
- Cutting too much hair off: It is always better to err on the side of caution and cut less hair off than you think you need. You can always cut more hair off later if you need to.
- Rushing the process: Taking your time and working slowly will help you to achieve a better result.
- Not using a styling product: A styling product will help your hair hold its shape
DIY Mom Cut: How to Safely Cut Your Hair at Home
DIY Mom Cut is a popular term for cutting your own hair at home. It can be a great way to save money and get a fresh new look, but it's important to do it safely. This guide will walk you through the steps of cutting your hair at home, so you can get the results you want without any mishaps.
What You'll Need
Before you start cutting your hair, gather all of the supplies you'll need. This includes:
- A pair of sharp scissors
- A comb
- A hairbrush
- A cape or towel to protect your clothes
- A mirror
- A hair dryer (optional)

Step 1: Wash and Condition Your Hair
The first step to cutting your hair is to wash and condition it. This will help to remove any dirt or product buildup, and make it easier to work with.
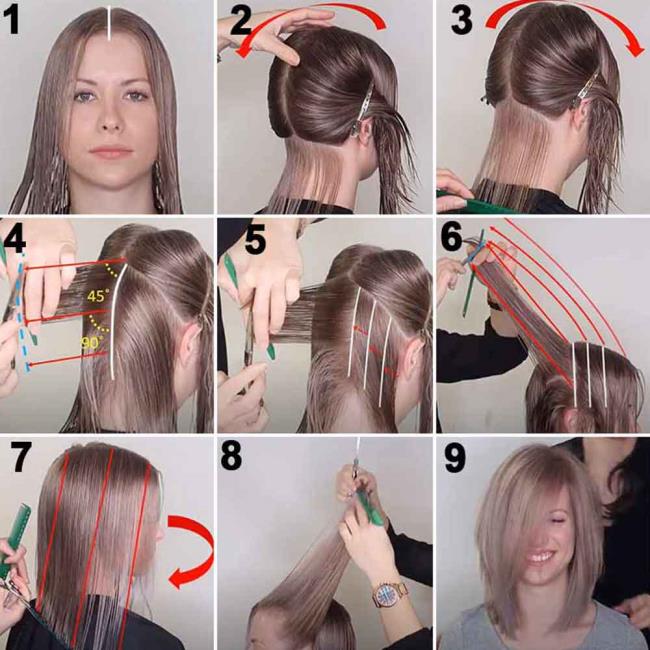
Step 2: Section Your Hair

Once your hair is dry, you'll need to section it into manageable pieces. This will make it easier to see what you're doing and prevent you from cutting too much hair.
To section your hair, start by parting it down the middle. Then, take a small section of hair from the top of your head and clip it up. Repeat this process until you've sectioned all of your hair.
Step 3: Cut the Layers

Now it's time to start cutting your hair. The first step is to cut the layers. To do this, hold a section of hair between your fingers and use your scissors to cut it straight across.
Start by cutting the longest section of hair. Then, work your way down, cutting each section shorter than the one before it.
As you're cutting, be sure to keep the scissors parallel to the floor. This will help to create a natural, layered look.
Step 4: Trim the Bangs
If you have bangs, you'll need to trim them last. To do this, hold a section of hair between your fingers and use your scissors to cut it straight across.
Start by cutting the longest section of hair. Then, work your way down, cutting each section shorter than the one before it.

Be sure to keep the scissors parallel to the floor. This will help to create a natural, blunt edge.
Step 5: Style Your Hair
Once you're finished cutting your hair, you can style it however you like. If you want to dry your hair naturally, simply let it air dry. If you want to speed up the process, you can use a hair dryer.

To use a hair dryer, hold it about 6 inches away from your head and blow it in the direction you want your hair to lay. Be sure to use a heat protectant spray to protect your hair from the heat.
Step 6: Enjoy Your New Haircut!
Congratulations, you've just given yourself a DIY Mom Cut! Now go out and show off your new look.
FAQs
Q: How do I know how much hair to cut?
A: A good rule of thumb is to cut no more than 1/2 inch of hair at a time. If you're not sure how much to cut, start with a small amount and then add more as needed.

Q: What if I make a mistake?
A: Don't panic! If you make a mistake, you can always fix it by cutting a little bit more hair. Just be sure to take your time and work slowly.
Q: What if I don't have any experience cutting hair?

A: Don't worry, you don't need any experience to give yourself a DIY Mom Cut. Just follow the steps in this guide and you'll be fine.
Q: What are some tips for cutting your own hair?
- Use sharp scissors.
- Work slowly and carefully.
- Keep the scissors parallel to the floor.
- Don't cut too much hair at a time.
- Style your hair after you're finished cutting it.

Conclusion
DIY Mom Cuts are a great way to save money and get a fresh new look. Just follow the steps in this guide and you'll be able to give yourself a stylish haircut that you'll love.

Bonus Tip: If you're feeling adventurous, you can try adding some highlights or lowlights to your DIY Mom Cut. This is a great way to add some personality to your look.


**Additional Resources.

